Today, following the release of iOS 14 beta, we’re going to teach you how to go back to iOS 13. Millions watched Apple reveal iOS 14 on their virtual stage during WWDC 2020, and hundreds of thousands of brave souls have installed the first beta on their main devices. If you’re plagued with iOS 14 beta woes, don’t worry. There’s an easy way to downgrade iOS 14 to iOS 13. Keep reading to find out how.
iOS 14 Downgrades are version specific!
 In order to downgrade, you must use the latest public version of iOS. For this reason, based on when you’re following this tutorial, that version may change over time. Don’t fear though, until Apple stops signing iOS 13 (that won’t happen until this fall), you’ll still be able to go back to iOS 13. [adinserter block=”4″]
Current signing status: iOS 13.5.1
The latest version Apple is currently signing is listed above. Again, this will change over time. A good rule of thumb is to use that version when downloading the corresponding IPSW for your device (more on this later).
Which iOS 13 Devices can Downgrade iOS 14?
 All iOS devices cable of running iOS 14 are able to revert back to iOS 13. This includes all iPhones, even the iPhone 11 series, all iPads, and the iPod touch.
How to Downgrade to iOS 13 from iOS 14
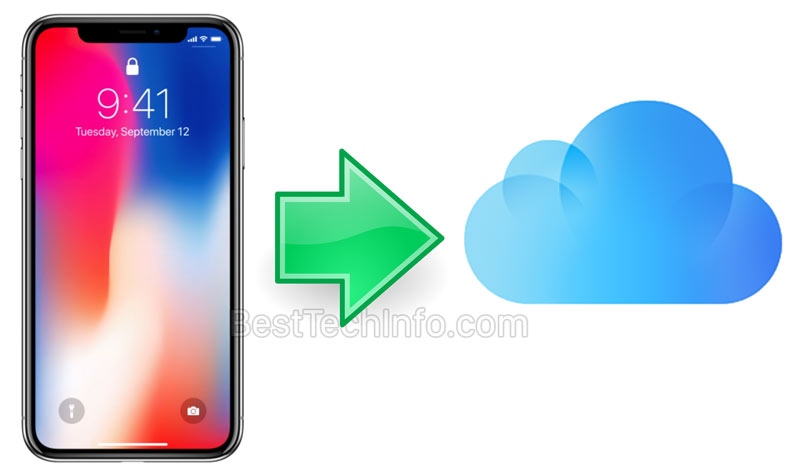 Important Note: not all data will remain on your device when going back to 13. This is a deterrent measure implemented by Apple to prevent people from downgrading. Anything that’s not saved in iCloud is subject to being lost. We suggest enabling Messages in iCloud, iCloud Photo library, and other iCloud services before the downgrade process. It’s also recommended to create a backup prior to downgrading, just to be safe.
Step 1: Download the latest iOS 13 IPSW from the download section listed below. If you’re on Windows, ensure iTunes is up-to-date. If you’re on macOS, ensure you have the latest system updates install in the System Preferences app.
[adinserter block=”5″]Note: After clicking the download for the IPSW, you must select the proper IPSW for your device. Use the lookup tool on the left to help if you encounter problems.
Step 2: Connect your device to your computer via a USB cable. Open iTunes (Windows) or Finder (Mac) and navigate to the device section. Ensure your computer is trusted on your device. If it’s not, you’ll need to establish a trusted connection. Tap “Trust” on-device when the pop-up appears and click the prompt on your computer.
Step 3: Backup! This is the most important step. If you skip this step, you will lose your data. Let the backup complete and ensure that it has fully finished before you proceed.
Step 4: Click “Restore” while holding the Shift key on Windows or the Option (alt) key on Mac. Select the iOS 13 IPSW you downloaded earlier and click open. I know, this seems counterintuitive, but this is a workaround to downgrade iOS 14 to iOS 13.
Step 5. Sit back and let the process complete. iTunes/Finder will perform a number of verifications and checks with Apple’s servers.
Step 6. Next, change the version number for your backup to allow it to restore your iOS 14 backup on iOS 13. The steps for this are specific based on your operating system. Follow the corresponding steps for you:
1. Find the Search bar:
-
- In Windows 7, click Start.
- In Windows 8, click the magnifying glass in the upper-right corner.
- In Windows 10, click the Search bar next to the Start button.
2. In the Search bar, enter %appdata% or %USERPROFILE% (if you downloaded iTunes from the Microsoft Store) and press the return/enter key.
3. Navigate to the following directory (folder): “Apple” or “Apple Computer” > MobileSync > Backup.
4. Click on your device’s backup. Open the info.plist in a text editor.
5. Search for the product version number and change it from 14.0 to 13.0.
6. Save your changes and exit out. Return to iTunes and proceed onto step 7 in the main tutorial of this article.
1. With your device connected, navigate to it inside Finder.
2. Click “Manage Backups…” and right click your desired backup, followed by “Show In Finder”.
3. Double click the folder and open Info.plist in either Text Edit or your preferred text editor.
4. Press the CMD and F keys simultaneously and search for “Product”. Change the “Product Version” string from 14.0 to 13.0
5. Save the changes and exit out of the .plist. Return to Finder and proceed onto step 7 in the main tutorial of this article.
Step 7: Now that you’ve properly modified your device’s backup, restore to it inside of either Finder on Mac or iTunes on Windows. Once finished, you’ll need to follow the on-device prompts to setup your device.
Subscribe for iOS 14 & Jailbreak Updates

 Congratulations, the iOS 14 downgrade to iOS 13 process is complete! If you’re interested in future iOS 14 and jailbreak updates, please consider subscribing. Thank you for reading and stay tuned for more tutorial. Follow us on social to stay in the loop (Twitter / Facebook).
Download iOS 13 IPSW to Downgrade to
[adinserter block=”6″]
Download iTunes for Windows by clicking here.


Ați făcut un iOS 14 de cacat îmi merge iPhone x foarte greu și sa încălzește rău Rușine iOS 14